Call Us Now: (847) 439-4565

Beam Flange Mounting Systems

Beam Flange Mounting System

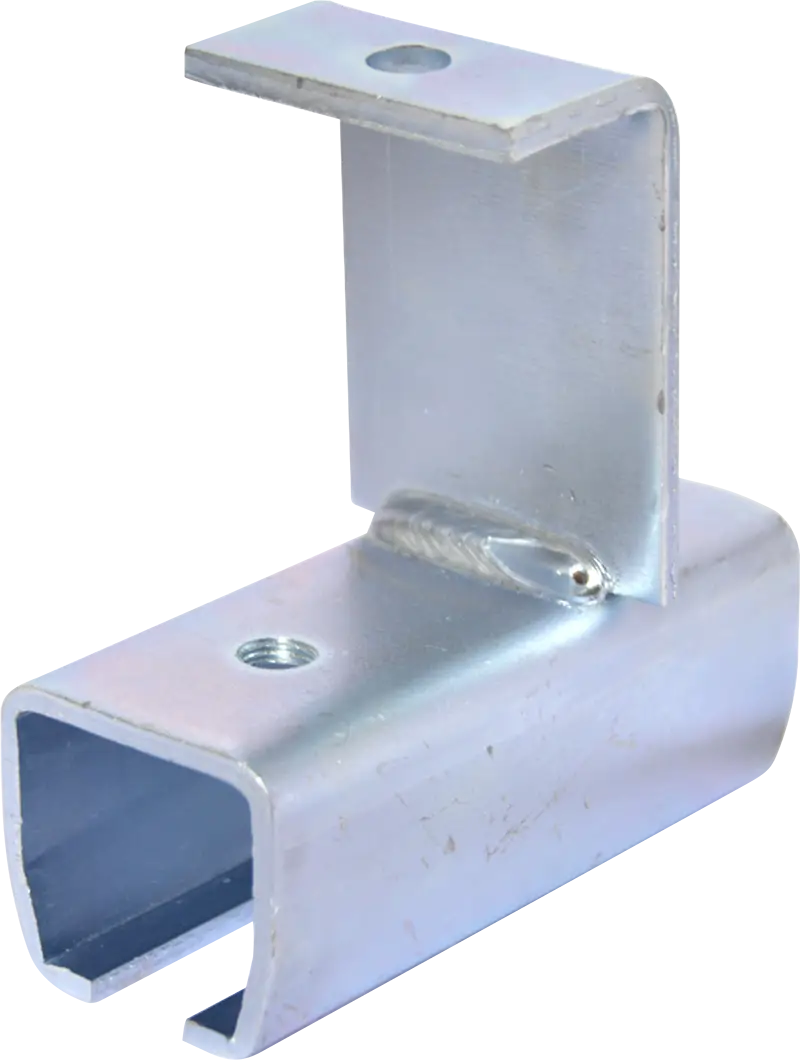
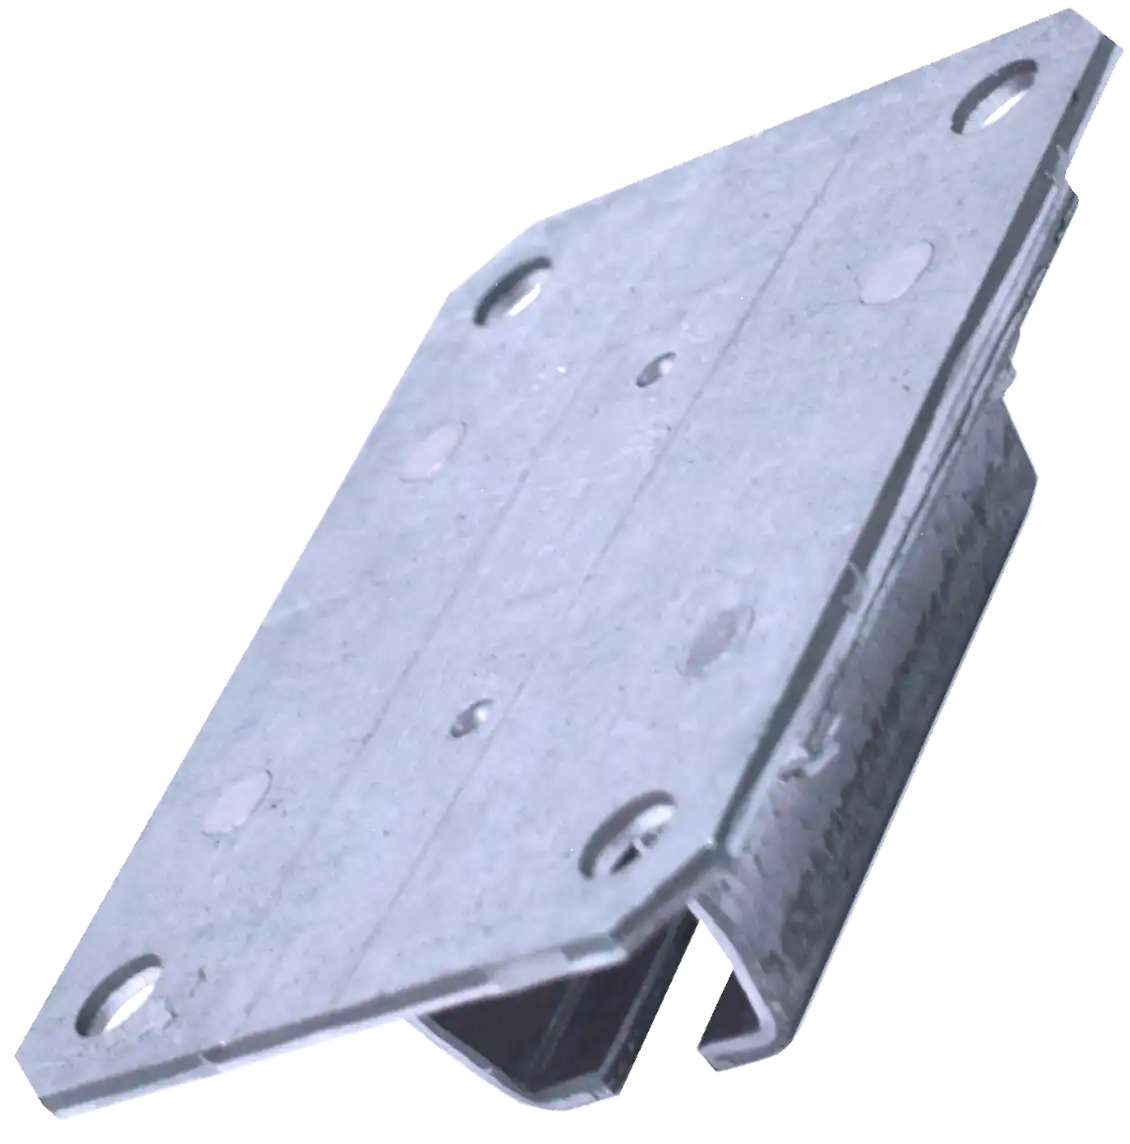
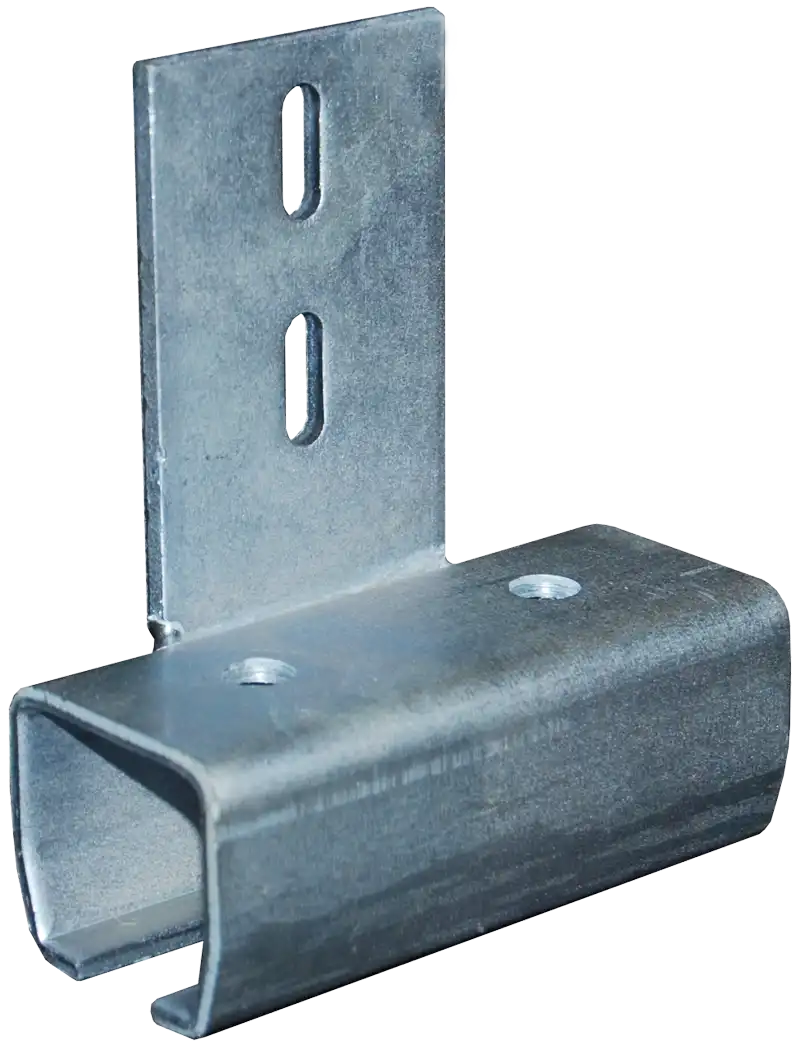
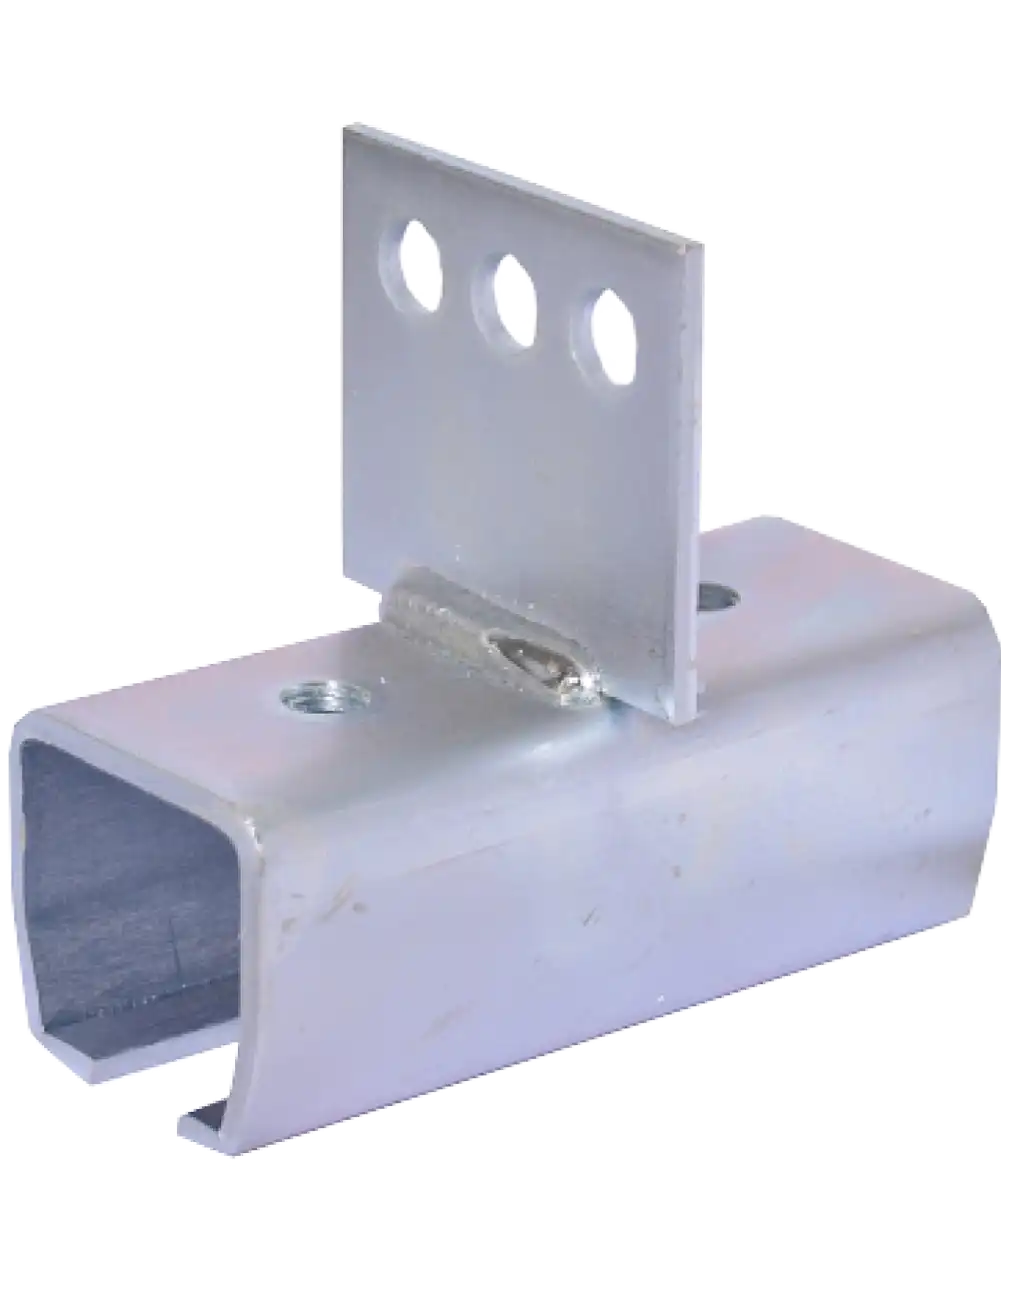
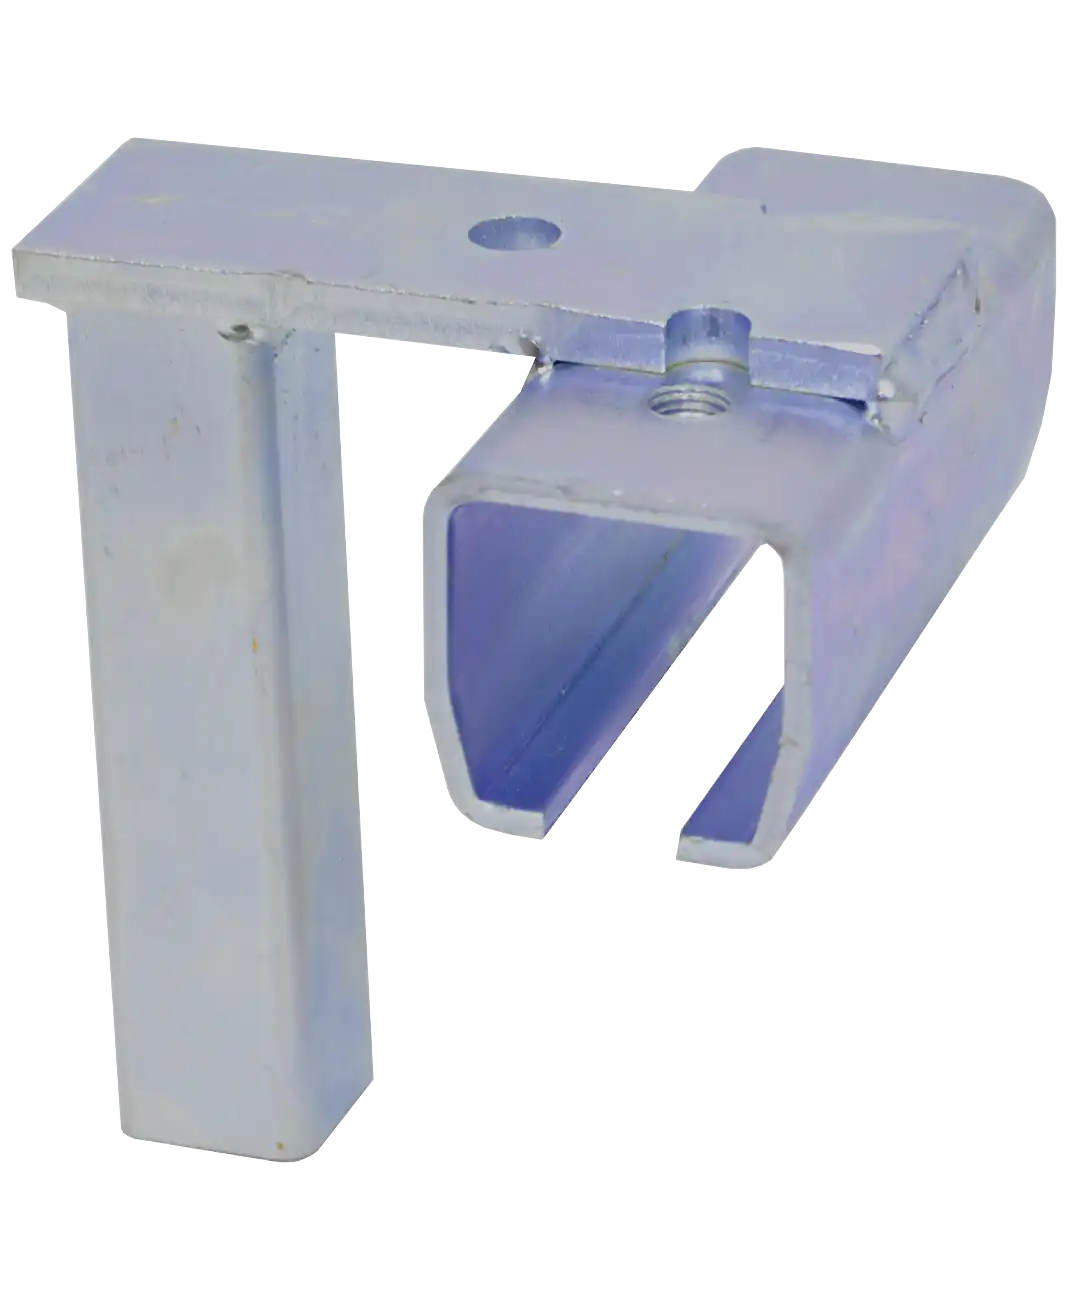
The beam flange mount has a C-Clamp welded on the stop surface of the beam flange connector or beam flange split support. This type of

industrial curtain track hardware

is ideal if you can clamp directly parallel or perpendicular to your existing structure.
Beam Flange Double Connector

Beam Flange Mounting Systems

Beam Flange Mounting Systems

The beam flange mount has a C-Clamp welded on the stop surface of the beam flange connector or beam flange split support. This type of industrial curtain track hardware is ideal if you can clamp directly parallel or perpendicular to your existing structure.
Features:
  • Allows you to level the Track
  • The Beam flange Mounting System is designed to attach to the flange of an not sloped I-Beam that runs directly above your proposed track.
  • 16 gauge galvanized Steel for industrial use
  • The C-Clamp can be rotated for the track to run parallel or perpendicular to your structure.
  • Can be used in combination with other mounting systems.
SPECS
Amcraft Logo
Contact Us Form

Some useful Details:

About Track Sections

Straight track

Straight Track Sections are available in:

2′, 4′, 5′, 6′, 7′ and 8′ sections.

We do not recommend using tracks over 8′ long, as this drives shipping costs up. Since the track hardware is a heavier product, we want to ensure that the way we package the product has the least possibility of getting damaged in transit. All of our packing and handling is performed with the utmost care and attention to detail.

Curved Track 90° or 45°
  • Welded plain connectors on each end
  • Requires two beam flange split supports on each end of the curve
How to get around:
We offer 90 and 45 degree track curves. The 90 degree curve makes up 2ft. (on each side) of your required track width. The 45 degree curve makes up 10.5″ (on each side) of your required track width.

As seen on the images, the curves come with plain connectors welded onto each side. This allows for the next track section to fit into the curved piece seamlessly. Next to each curve end you must place a split support to support the track from above.

The curves can be used to create an L-shape, U-shape, 4-sided, or more custom track configuration. Additionally, the curved tracks allow the curtains to travel around them and move anywhere in the track layout.

About Connectors and Split Supports

flange corner connector BFA K89
Beam Flange Corner Connector
includes 2 each set screws

90 Degree Corner Connector

Another way to handle a corner within the track layout
would be to use a 90 degree corner connector. These pieces form a hard corner, which curtains cannot move around. Each piece comes with two set screws to secure the track sections on each side.

beam flange T connector BFTK90
Beam Flange T-Connector
includes 3 each set screws

T-Connectors

The T-Connectors are used to create a divider in a rectangular track configuration. These are often used in the Auto Industry to create bays for painting or mechanical work on cars and trucks.

Beam Flange Connector

vs.

Plain Connector together with a Beam Flange Split Support

All connectors and/or Split Supports need a mounting point above; such as a truss, beam or unistrut to support from. The track run needs to be supported every 5 to 6 feet depending on the height (weight)of the curtain. For heavier curtains, such as our double barrier acoustic curtains, we recommend placing a support up to every 2′ in the areas where curtains are retracted too and stacked/stored.
If you are able to run your track parallel to and directly under a truss, then you would use the Threaded Rod Connectors. Because you are mounting to a continuous structure, you can place the connectors (and thus the clamps and/or mount plates with the Threaded Rod) anywhere along that structural member.

If you are planning on running the track perpendicular to your trusses and you do not know the distance between the trusses, we recommend using the plain connectors to connect the track. The split supports will need to line up under your ceiling structure so it is important to make sure that you have at least 6″ of space between the track joint (plain connector) and your split support. Split supports cannot be placed over/on top of a plain connector.

Beam Flange Connector BCC K36
Beam Flange Connector
includes 2 each set screws
Plain Connector PC K38
Plain Connector
includes 2 each set screws
beam flange split support BFS K88
Beam Flange Split Support
beam flange split support connector
Connects straight track sections and also provides support.
beam flange plain split support
Split supports can be placed anywhere along the track, but not over a connector. Best placed next to or not to far from a plain connector.

Special Feature on the Beam Flange Connectors and Split Supports

The Beam Flange Connectors have this C-Clamp that can be rotated 90 degree. Which allows you to mount the track either parallel or perpendicular to your existing structure.

Parallel Mount

Parallel Mount connector
Parallel Mount Truss
Shown above with a Beam Flange Connector also possible with a Beam Flange Split Support.

Perpendicular Mount

Perpendicular Mount connector
Perpendicular Mount
Shown above with a Beam Flange Split Support also possible with a Beam Flange Connector.

About End Stops and supporting the ends of the track

Wall Mount End Stops, Flange Up and Down

If you are able to run the track all the way to a wall you can use the Wall Mount End Stops to support the track end. Using these pieces provides more stability to your track overall. You would have to let us know if you prefer the flange to be UP or Down.
wall mnt end stop
wall mount end stop flange up WMESU K33 1
Wall Mount End
Stop Flange UP
wall wount end stop flangedown WMESD K32
Wall Mount End
Stop Flange Down

Another way to support the track end is to use a Split Support

If you use an Split Support to support your track end and your track does not stop at a wall you need to insert an adjustable end stop into the track end to make sure the trolley hooks don’t fall out.
track end split support
If you use an Split Support to support your track end and your track does not stop at a wall you need to insert an adjustable end stop into the track end to make sure the trolley hooks don’t fall out.
An additional way to use the adjustable end stop is if you want to fixate one end of the curtain at a certain position.
Adjustable End Stop
For example next to a wall so one of the curtain edges would be stationary. All you would do is using an additional adjustable end stop between the last two trolley hooks.

Trolley Rollers get slide into the Track and hooked onto the Curtains

Nylon Roller NY K42

Used for ourSingle layer Curtain Products and for other lighter weight Curtains

Steel Roller SR K44

Used for our heavier type of curtains, such as Insulated and Acoustic.

Pull Rope Trolley

Overlap Trolleys are used on one of the curtains where you want to create an overlap. Ideal for pass-throughs.

Overlap Trolley Without Rope OLT K72
Used in a Industrial setting where the curtains get moved a lot.
nylon roller
Used for ourSingle layer Curtain Products and for other lighter weight Curtains
Amcraft-Manufacturing-Steel-Roller-SR-K44
Used for our heavier type of curtains, such as Insulated and Acoustic.
Amcraft-Manufacturing-Pull-Rope-Trolley
Overlap Trolleys are used on one of the curtains where you want to create an overlap. Ideal for pass-throughs.
Used in a Industrial setting were the curtains get moved a lot.
It is important, and this is also explained in our Installation instructions, you would count the rollers needed per track run. By counting the Grommets on the curtains you will know the needed Roller amount. You must slide the roller into the track before mounting the last piece of track to the wall.